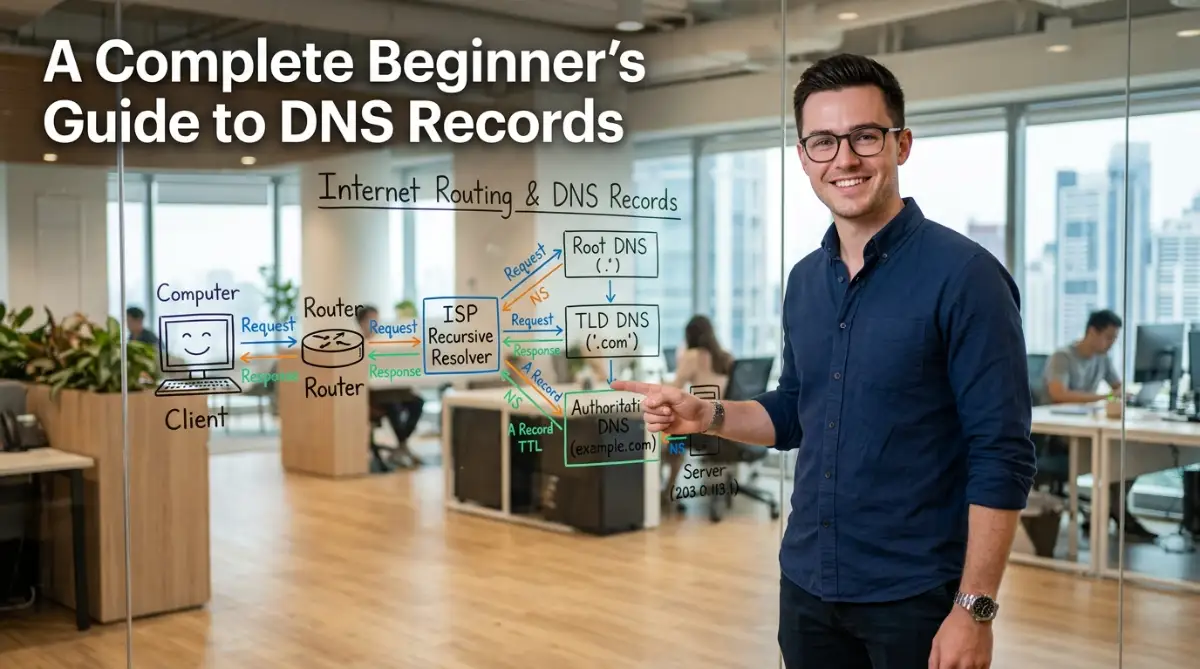
The Paralyzing Fear of Breaking Your Digital Home
Are you terrified of touching your website's backend because you think one wrong click will delete years of hard work? I know that exact feeling. Moving your site to a faster host feels like trying to defuse a bomb while blindfolded. But staying stuck on a slow, expensive server is actually hurting your business way more than a temporary technical glitch ever could. I am going to show you a completely foolproof, zero-downtime method to pack up your digital house and move it safely, without losing a single visitor or tearing your hair out.
Moving a website feels exactly like performing open-heart surgery on your own business. You know the patient desperately needs a better, faster environment to survive. Yet, the thought of physically opening up the digital chest and moving the core components is absolutely terrifying.
Let us pause for a second and address the loudest questions keeping you awake at night.
Rapid-Fire Migration Q&A:
- Will my website go offline during the move? Not if we use the exact method outlined below. Your visitors will not notice a single thing.
- Will I lose my search engine rankings? Absolutely not. Search engines will simply see a faster website once the transition is complete.
- Do I need to be a coding genius? No. If you know how to copy and paste files on your computer, you can do this.
You do not have to stay hostage to a bad server anymore. We are going to break down this technical monster into a series of incredibly simple, logical actions. By the end of this guide, you will view server migration as a basic household chore rather than a dangerous surgical procedure.
My 3-Minute Pre-Move Sanity Check
- Clean the Trash: Empty your spam comments and deleted drafts. There is no reason to pack garbage for a move.
- Screenshot Everything: Take quick pictures of your current widget layouts and menu structures just in case things shift around on the new server.
- Pause Your Updates: Turn off automatic theme and plugin updates while you are moving. You want the files to stay completely frozen until they safely reach the new destination.

Your Zero-Stress Migration Action Plan
- Clean House First: Delete unused themes and trash comments right now to make your transfer files significantly lighter.
- Pack Two Bags: Never rely on just one backup file. Save one copy to your computer and push another directly to cloud storage.
- Build in Secret: Set up your new server and test it using a hidden "hosts file" trick before you ever show it to the public.
- Keep the Old Lights On: Never cancel your old hosting plan until at least 30 days after the move. This catches lost emails and lagging visitors.
Conducting a Deep Cleaning Before the Big Move
You would never pack up broken furniture and actual garbage when moving to a new physical house. Moving a website requires the exact same logical mindset. Before we even touch a single server setting, we need to completely audit and clean your current digital property.
Over the years, your website has likely collected a massive amount of invisible junk. You probably have dozens of unused theme files, old backup archives, and thousands of spam comments sitting in the background. Every piece of junk you leave behind makes the upcoming transfer significantly heavier and riskier.
Start by logging into your current dashboard and ruthlessly deleting any tool you do not actively use. If you have drafts of posts from months ago that you will never publish, delete them. Clear out your trashed comments and empty your media library of duplicate images.
This simple cleaning process reduces the total size of your website. A smaller website moves much faster across the internet network, dramatically reducing the chances of a connection timeout during the transfer. Think of this step as packing light for a very important flight.
The Dual Backup Strategy for Absolute Peace of Mind
Once your digital house is perfectly clean, we need to create an exact replica of it. Most guides tell you to just click a backup button and move on. However, relying on a single backup file is the most dangerous mistake a beginner can make.
We are going to use the Dual Backup Strategy. This means creating two completely separate copies of your website using two completely different methods. If one method fails, you have an immediate safety net waiting for you.
First, use your current server's control panel to generate a full account backup. This creates a massive compressed folder containing your emails, settings, and files. Download this file directly to your physical computer hard drive.
Next, log into your actual website dashboard and use a trusted backup plugin to create a secondary copy. Send this second copy to a remote cloud storage location like Google Drive or Dropbox.
Why We Do This: Hardware fails. Internet connections drop. Sometimes a downloaded zip file gets corrupted on your computer without you knowing. By having a local copy and a cloud copy, you completely eliminate the risk of permanent data loss.
The Foolproof 3-2-1 Backup Rule
| Backup Type | Where It Lives | Why You Need It |
| :--- | :--- | :--- |
| 1. Native Server Backup | Saved to your local computer desktop | The fastest way to restore your entire control panel structure. |
| 2. Plugin Backup (ZIP file) | Sent directly to Google Drive or Dropbox | Protects you if your physical computer crashes during the transfer. |
| 3. Manual Database Export | Emailed to yourself or saved on a USB | The absolute safest copy of your written text and user settings. |
Understanding the Anatomy of Your Digital Property
Before we start moving things, you need to understand exactly what you are carrying. Many beginners get deeply confused because they think a website is just one single item. In reality, a dynamic website is actually split into two completely separate pieces.
Imagine a large, beautiful library. The library has physical bookshelves, painted walls, and wooden desks. Those physical structures represent your Website Files. This includes your images, your software code, and your design themes.
However, a library is entirely useless without the actual information written inside the books. That information represents your Website Database. The database holds all your written blog posts, your user passwords, and your category structures.
To successfully migrate to a new server, we must carefully pack and move both the physical shelves and the information inside the books. If you only move the files, your new website will look beautiful but contain zero content. If you only move the database, you will have great content with no structure to display it.
Extracting the Brain: Your Database Dump
Let us start by safely extracting the database, which is the absolute most valuable part of your business. To do this, you will log into your old server and look for a tool called phpMyAdmin. This tool looks incredibly complicated, but we are only going to use one single button.
When you open phpMyAdmin, you will see a list of databases on the left side of the screen. Click on the one that belongs to your website. Once selected, look at the top menu bar and click the button labeled "Export."
The system will ask you for an export method. Always choose the "Quick" method and ensure the format is set to SQL. When you click go, your computer will download a tiny text file.
This tiny SQL file contains every single word you have ever written on your blog. It holds all your comments and settings. Keep this file incredibly safe on your desktop, as it represents the entire memory bank of your online business.
Moving the Physical Structure: File Transfer Methods
Now that we have the brain, we need to move the physical body. You have two main options for moving your website files to the new server. You must choose the method that best matches your comfort level with technology.
Method 1: The Automated Package Transfer
If your old server and your new server both use the same control panel software, you can often package everything together. You create a single zip file in the old File Manager, download it, and upload it to the new server. This is very straightforward but requires a strong internet connection to download and re-upload large files.
Method 2: The Direct Network Bridge (FTP)
Professional developers prefer using a File Transfer Protocol (FTP) client. This is a free software program you install on your computer. It allows you to log into both servers simultaneously and drag files directly from the old host to the new host.
The FTP method completely bypasses your home internet connection speed. The files travel directly across the massive data pipelines of the internet, making it much faster and significantly less prone to errors.
Building the New Foundation Before Anyone Notices
Here is the greatest secret to a zero-downtime migration. We are going to build your entire new website in complete secret. While your visitors continue reading articles on your old server, we will quietly set up the new environment behind the scenes.
Log into your brand new hosting account. At this exact moment, your domain name is still pointing to the old server. This is a very good thing.
Inside your new account, you need to create a completely blank database. Give it a secure name, create a new username, and generate a highly complex password. Write these three pieces of information down in a text document immediately, as they act as the new keys to your digital house.
Next, open the phpMyAdmin tool on your new server. Select the blank database you just created. Click the "Import" button at the top of the screen and select that tiny SQL file we downloaded earlier.
Once you hit go, the system will unpack all your old memories and place them perfectly inside the new database. Your content has officially arrived at its new home.
Connecting the Wires in the Dark
We have the files uploaded, and we have the database imported. But right now, they do not know how to talk to each other. We have to connect the wires so the physical structure can read the memory bank.
You will open the main configuration file located inside your website files on the new server. If you use standard software, this file usually holds the database connection settings.
You must carefully replace the old database name, username, and password with the brand new ones you just created. This requires extreme precision. Do not accidentally delete any quote marks or semicolons in the code.
Expert Insight: A single missing punctuation mark in the configuration file will instantly cause a database connection error. Take a deep breath, paste the new details slowly, and double-check your spelling before hitting the save button.
Once that file is saved, the internal wiring of your new digital home is completely finished. The website is fully operational on the new server, waiting patiently in the dark. The final challenge is figuring out how to test it without accidentally breaking your live traffic.
I once spent four hours freaking out because my new site wouldn't connect, only to realize I had copied an invisible space character at the end of my new database password. Always paste your new passwords into a simple notepad document first to wipe away any hidden formatting. It sounds silly, but this simple trick will save you from massive headaches.
The Secret Backdoor for Testing Your New Server Environment
At this exact moment in your migration journey, your new website is fully built but completely invisible to the public. The absolute worst thing you can do right now is point your global domain name to the new server immediately. You need a way to look around the new digital house and make sure all the furniture is in the right place before opening the front door.
Professional web developers use a highly guarded secret called the "Hosts File Modification" trick. This technique allows your personal computer to bypass the global internet directory entirely. It essentially creates a private, invisible tunnel straight from your laptop to your new web hosting account.
Think of this like having a VIP backstage pass to a concert that hasn't opened to the public yet. While the rest of the world still sees your old server, you get to walk around the new server freely. You can click on links, test your contact forms, and ensure your images load perfectly.
How to Build Your Private Testing Tunnel
Every single computer operating system has a hidden text file called the "hosts" file. This file acts as a local override switch for internet routing. By adding a single line of text to this file, you force your computer to map your website name directly to the new server's IP address.
If you use a Windows machine, you can find this file buried deep inside your System32 driver folders. If you use a Mac, you access it by typing a quick command into your terminal application. You simply open the file in a basic text editor, type your new server's IP address, hit the spacebar, and type your website name.
Once you save that file and restart your web browser, magic happens. You type your normal web address into the search bar, but your browser completely ignores the public network. It loads the exact replica we just built on the new server.
Pro-Tip: Always leave a tiny, hidden visual marker on your new website during this testing phase. You could simply add the word "New" to the very bottom of your footer text. This guarantees you know exactly which version of the site you are currently viewing.
Navigating the SSL Certificate Challenge
While you are exploring your new server through this private tunnel, you might notice a scary red security warning in your browser. The browser might say your connection is not private. Do not panic, as this is completely normal during a hidden migration test.
Your new server does not have a valid SSL security certificate yet because the global domain name is not officially pointing to it. Security authorities cannot issue a certificate to a server they cannot publicly verify.
You must wait until the actual public switch happens before generating the new SSL certificate. Once the global internet recognizes your new server, you can log into your control panel and click the free "Auto-SSL" installation button. The security warning will disappear almost instantly.
Executing the Final Public DNS Switch
After you have thoroughly clicked around the secret testing tunnel and confirmed everything looks flawless, you are ready for the final step. You must now tell the entire world that you have officially moved. This is done by updating your primary domain settings.
You will log into the company where you originally purchased your web address. You need to find the settings panel that controls your "Name Servers" or your specific "A Records." You will gently delete the old routing numbers and paste the routing numbers provided by your new hosting company.
This initiates the global update process. It takes time for internet service providers around the world to memorize this new address, which is exactly why demystifying DNS records and understanding propagation is such a valuable skill for webmasters. By understanding this delay, you eliminate all the anxiety of waiting for the internet to catch up.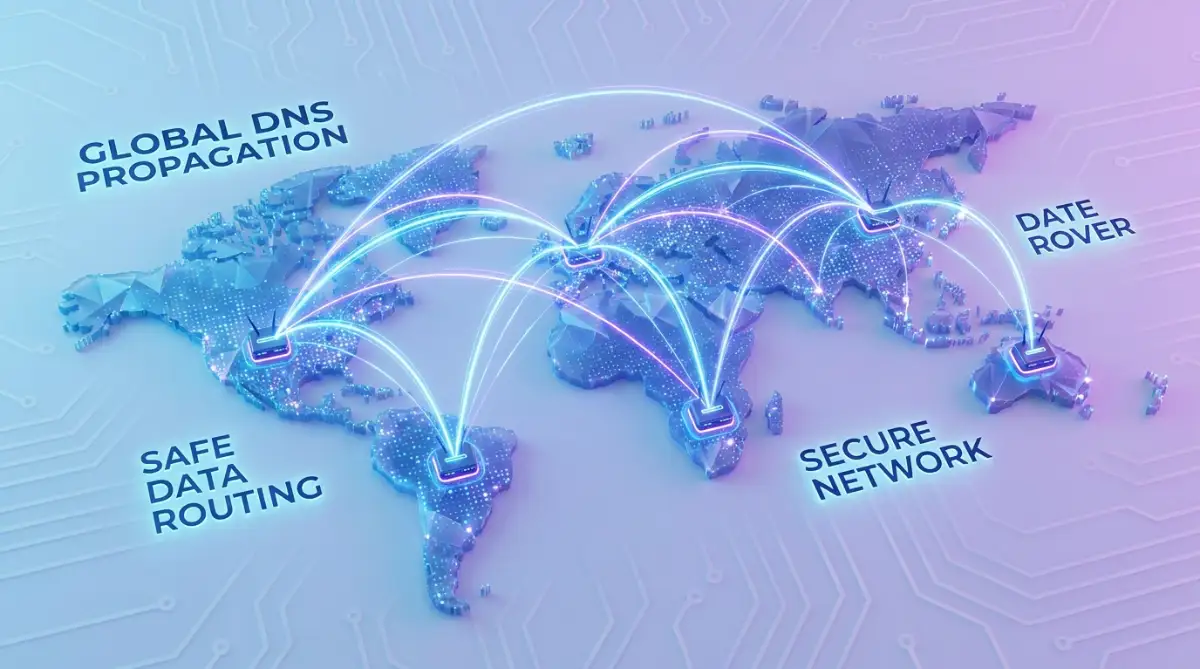
To better understand how complex network routing behaviors operate on a global scale, you can review the technical networking standards published by the

The Devastating Errors That Ruin Perfect Transfers
Even when you follow the technical steps perfectly, human emotion and impatience can easily destroy the entire process. Many website owners reach the final DNS switch and immediately make catastrophic administrative errors. These mistakes do not just cause temporary downtime; they can permanently erase data and destroy client relationships.
The internet is a massive, slowly turning ship that requires time to process changes. Trying to rush the final stages of a server move always results in disaster. Let us explore the most dangerous traps that consistently catch beginners off guard, so you can safely avoid them entirely.
The Premature Account Cancellation Trap
The absolute most common mistake people make is canceling their old hosting account the exact same day they move. They update their domain settings, see the new website load on their phone, and immediately call their old host to demand a refund. They want to save money and cut ties instantly.
This is exactly like burning down your old house while some of your mail is still being delivered there. Because the global internet updates in slow, random waves, half of your audience is still being sent to the old server.
If you cancel the old account too early, visitors who have not received the updated directions will hit a massive dead end. They will see a terrifying 404 error page, and Google's scanning bots will record your site as completely broken. You must keep both servers fully active and paid for at least thirty days after the initial move.
This overlap period also protects you against sudden administrative oversights. If you lose access to your digital property due to a simple billing error, you could face the same nightmare as what really happens when your website domain name expires unnoticed. A small overlap in billing is a cheap insurance policy for your business.
The Custom Email Black Hole
Another silent killer during website migrations is forgetting about your professional business emails. If you use a custom address like hello@yourwebsite.com, that email routing is tied directly to your server settings.
When you move your website files, your old emails do not automatically follow you. Your new server has absolutely zero memory of your past conversations, client contracts, or newsletter replies.
If you change your DNS settings without setting up new email accounts on the new server, every single incoming message will bounce back to the sender. You will create a massive communication black hole. Your clients will think you went out of business overnight.
Real-Life Scenario: A popular fitness blogger migrated her site perfectly but forgot her email settings. For three days, potential sponsors tried to email her lucrative brand deals. Every single email bounced, and the sponsors simply moved on to the next creator. She lost thousands of dollars because of one unchecked setting.
Always recreate your exact email addresses inside the new server dashboard before you ever touch the domain settings. This ensures the new mailbox is sitting wide open and ready to catch messages the exact second the network updates.
For comprehensive guidelines on keeping business communications secure and preventing data loss during IT transitions, you can read the official cyber hygiene recommendations from the Cybersecurity & Infrastructure Security Agency (CISA).
Falling for the Infinite Storage Illusion Again
Before you blindly trust your new host's promise of endless space, watch this quick breakdown of how "unlimited" hosting really works. It will completely change how you manage your files on the new server, so make sure to keep reading the rest of the guide right after watching!
Sometimes, the pure excitement of moving to a faster environment blinds us to reality. You might have left your old host because your site constantly crashed under heavy traffic. You arrive at the new host, feeling relieved because their homepage proudly advertised endless resources.
However, you must not abandon your good maintenance habits just because you are in a new digital house. Uploading massive, uncompressed images or hoarding thousands of old backup files will eventually trigger the exact same errors.
The physical laws of computing apply to your new host just as much as they applied to your old one. If you blindly trust the marketing hype, you will quickly discover the shocking truth behind unlimited web hosting bandwidth claims all over again. You must continue to optimize your images, clean your database, and treat your new server space with deep respect.
Your Post-Migration Action Plan for Success
You have successfully survived the most intimidating technical challenge a website owner can face. The anxiety you felt at the beginning of this journey has now been replaced by true, actionable knowledge. You understand how data moves, how databases connect, and how the internet routes traffic.
This newfound confidence changes everything about how you manage your online business. You are no longer trapped by the fear of breaking your website. You can finally focus all of your energy on writing incredible content and growing your audience, knowing your technical foundation is rock solid.
To ensure your newly migrated website continues to thrive, you should establish a calm monitoring routine. Do not obsessively refresh your statistics every five minutes. Instead, use a structured approach to verify the health of your digital property over the next few weeks.
The 48-Hour Verification Checklist
Print this short checklist out or save it to your phone. Walk through these simple verification steps over the next two days to guarantee a flawless transition.
- Test External Contact Forms: Personally fill out the contact form on your new website and ensure the message arrives safely in your inbox.
- Audit Your Permalinks: Click through at least ten different older blog posts. Verify that the URL structure did not accidentally change during the database import.
- Run a Speed Diagnostic: Use a free online speed testing tool to measure how fast the new server delivers your homepage compared to the old one.
- Check Mobile Responsiveness: Open your website on a physical smartphone on a cellular data network (not your home Wi-Fi) to experience exactly what your remote visitors see.
By actively completing these final checks, you wrap up the entire migration process perfectly. You have safely transported your hard work across the internet without dropping a single piece of data. Enjoy your faster, cleaner, and significantly more powerful digital home.
Moving my sites used to give me nightmares, but now I can do it confidently while drinking my morning coffee. You have the exact roadmap right in front of you, so please do not let a bad server hold your business back for another day. Take a deep breath, follow these steps one by one, and go get the faster website you actually deserve.
Disclaimer: The information provided in this article is for educational purposes only. Server configurations, control panel interfaces, and database management tools vary significantly depending on your specific web hosting provider. Always maintain secure, offline backups of your data and consult your hosting provider's technical support team before making major structural changes to your live business website.